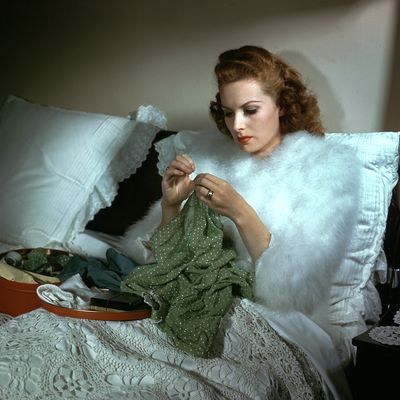
I’ve always loved fashion, but brands I could afford were in no way sustainable, and the sustainable brands I liked, I could in no way afford. So, after flirting with the idea as a teenager, I got seriously into altering my own clothes around two and a half years ago at uni.
I’d followed sewing vloggers on YouTube since my early tweenhood, endlessly bookmarking the thrift-flip tutorials of WithWendy, Amy Serrano, and Nava Rose to get round to later. And as I knew nobody with sewing experience, when I decided to get stuck into sewing, I relied on these vloggers to teach me the basics — from WithWendy teaching me how to thread my sewing machine, to Nava Rose demystifying the world of zippers and eyelets, to Amy Serrano — my sewing muse — demonstrating how to transform a pyjama top into a Chanel suit. But this autodidactic method of learning, in scattered dribs and drabs, sometimes left gaps in my knowledge. This meant that often I’d get halfway through a project only to find I was missing some essential piece of equipment. Even during lockdown — when I already considered myself a pretty adept seamstress — there’d still be such instances where I’d have to stop, order, and wait (and wait, and wait, thanks to the pandemic). To save you the same heartache, I’ve compiled a list of all of the items that you absolutely need in your sewing kit to get started. Read on for everything you need to stitch a button, take up a pair of trousers, or even sew a skirt from a pattern.
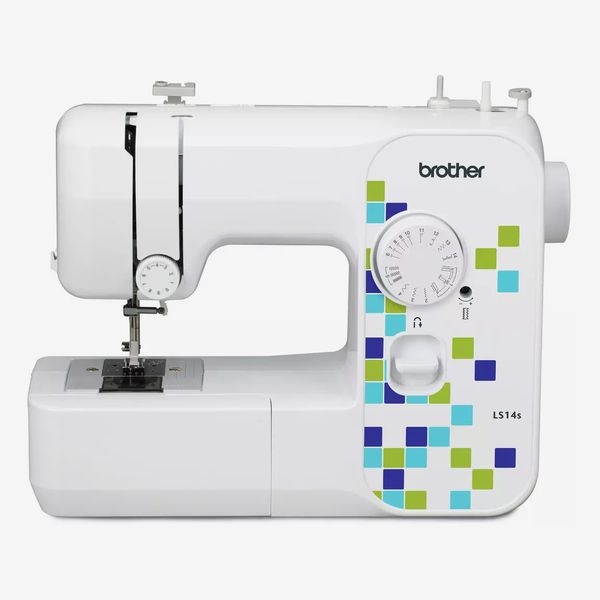
As a sewing machine is the biggest expense I was going to encounter, I spent about a month researching the best one to invest in. After compiling a pros and cons list that Rory Gilmore would approve of, I settled on this £80 model from Brother. It comes with 14 built-in stitches, two needle positions, and a four-step buttonhole (absolutely everything a hobby sewer needs). The dual-needle option is handy when it comes to sewing stretchy materials such as spandex, and a four-step buttonhole means that the machine will automatically stitch the hole for you (you just have to help it along by turning the fabric four times). The 14 built-in stitches cover everything I’ve needed over two years of consistent usage; you change it via a handy dial that has guiding illustrations of what each stitch looks like. It also comes equipped with extras (spare needles, extra bobbins, a foot specifically for sewing zippers) which saves the hassle of having to source them all yourself. I think that this machine is an absolute bargain at £80; similar models from other brands will easily set you back well over £100.
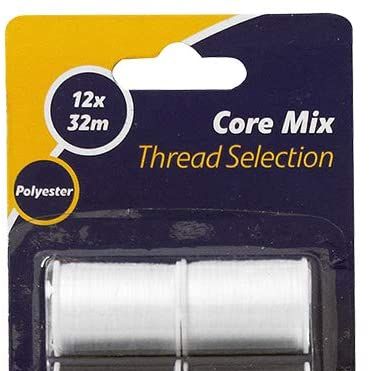
Before you can thread your needle, you’ll of course need to pick up some thread. I lash one of these variety packs from Korbond in my basket whenever I’m running low; you can find them in all hobby stores and any big Tesco. They’re all made from polyester — which is stronger and stretchier than cotton — and each spool has 32 metres’ worth of thread, which is more than enough to last you for a few projects. To get you started, this pack is ideal: Not only is the whole rainbow represented in the range of colours, but there are double the spools of plain black and white thread (and these are the ones that you’ll find yourself reaching for most often).
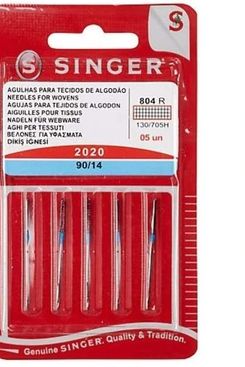
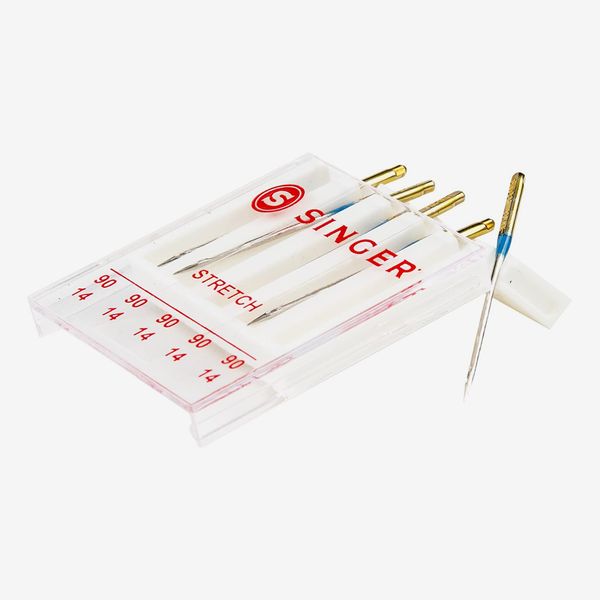
Whilst most sewing machines come with spare needles, it’s always a good idea to stock up — there’s nothing worse than having to pause a sewing session because your last needle has decided to snap. Singer is my go-to brand when it comes to needles; admittedly, they’re pricier, but they just last longer than any other brand I’ve tried.
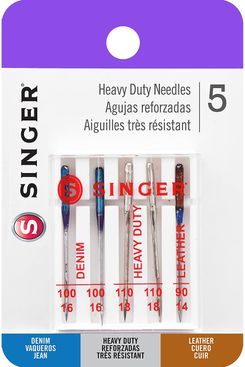
Back when I first got going, I made the mistake of thinking that a standard needle is suitable for working with any material. A few tears and ruined pieces of fabric later, I realised the error of my ways and invested in some fabric-specific needles. These needles are designed to be of a suitable sharpness to pierce a certain material, allowing you to sew without dropping stitches or leaving holes. This pack in particular has needles suitable for denim, leather, and other heavy-duty materials.
I’d also recommend spandex-specific needles; it takes the stress out of working with an already rather daunting and fiddly fabric.
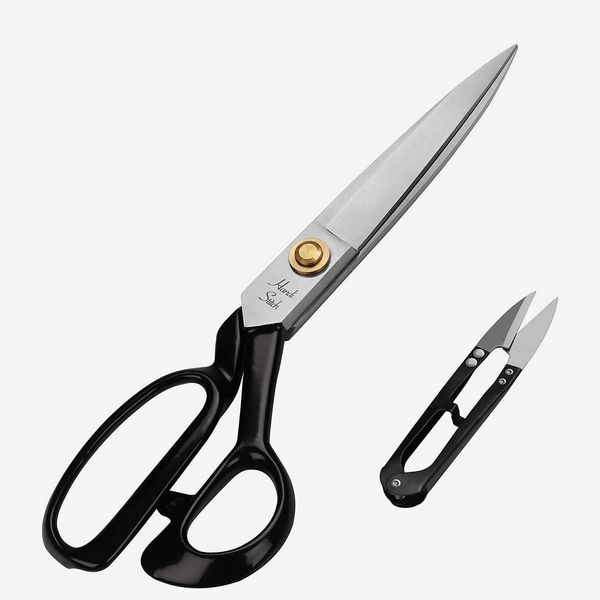
Regular scissors you may have lying around are designed primarily to cut household scraps such as paper — certainly nothing thicker than cardboard. This means that, no matter how much gusto you give it, trying to shear fabric with household scissors will snag and fray your material (if they manage to get through it at all). I came across these heavy-duty shears from Handi on Amazon last year, encouraged by their impressive average rating of 4.8 stars. They’re suitable for cutting through anything from cotton to leather, meaning there’ll be no need to buy additional pairs. They’re so sharp that when I’m layering fabrics three or even four times over to cut linings, the blades still glide through with ease. You can also use a knife sharpener on the blades once they start to blunt, so they’ll be with you for years to come.
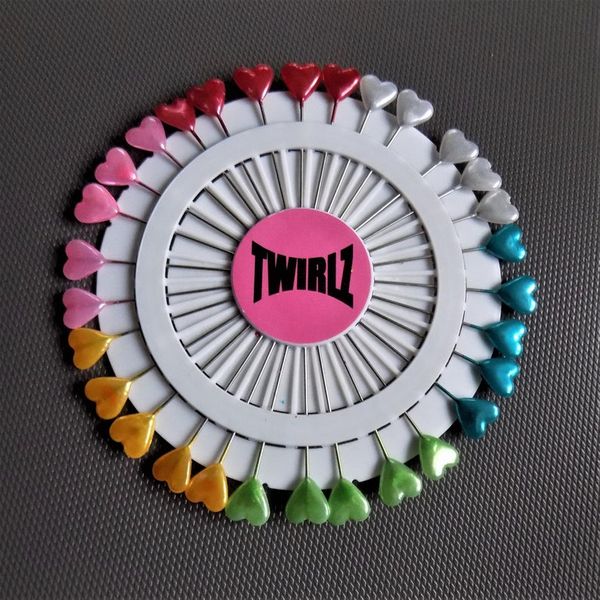
Pins are a must-have for keeping your fabric securely in place before you sew. Because I’m precious, I opt for these pins tipped with love hearts. Beyond being cutesy, the rainbow colours help me keep track of where I’ve placed them, and the bulky heart-shaped tips makes pinching them out of the fabric light work. These pins are also strong enough to pierce thicker fabrics, meaning that you won’t be chucking away bent pin after bent pin as you work.
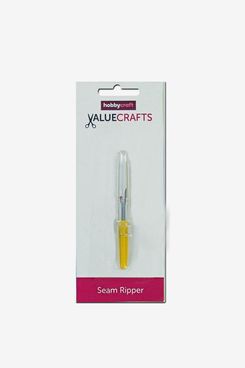
Seam rippers are another seamstress’s essential. They glide through the seams of thrift-flips you want to disassemble, or can even help you undo a dodgy stitch. On a whim, I picked up this seam ripper from Hobbycraft when I started out two years ago: I’m yet to have cause for complaint. It’s petite enough to afford precision, and it’s this precision that will save you from accidentally slicing into your fabric. I’m also a fan of the bright-yellow handle, which makes locating and fishing it out of my sewing basket that much easier.
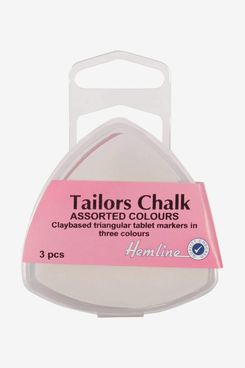
Chalk is an ideal tool for temporarily marking fabrics as you alter. Whilst I’m sure any old tailors’ chalk would do the trick, I’m a fan of the way the one from Hemline is shaped. The almost triangular shape means that the tool fits in the palm comfortably, whilst the pointed tip gives the precision required when marking fabrics. I also find this chalk to be super easy to rub away once I’m done altering my garment, so two thumbs up there.
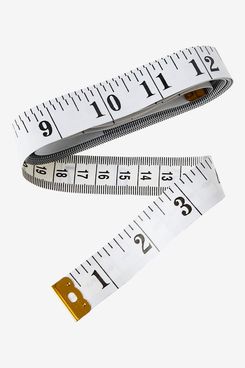
Make sure you don’t forget a humble measuring tape. I find that they’re all much of a muchness, but you’ll definitely want one that’s double-sided. With inches on the front and then centimetres on the back, any conversions that you may need to calculate are already done for you. The one I’ve linked does the job, and has a 4.8 star rating on Amazon from almost 5,000 reviewers, so you can’t go wrong.
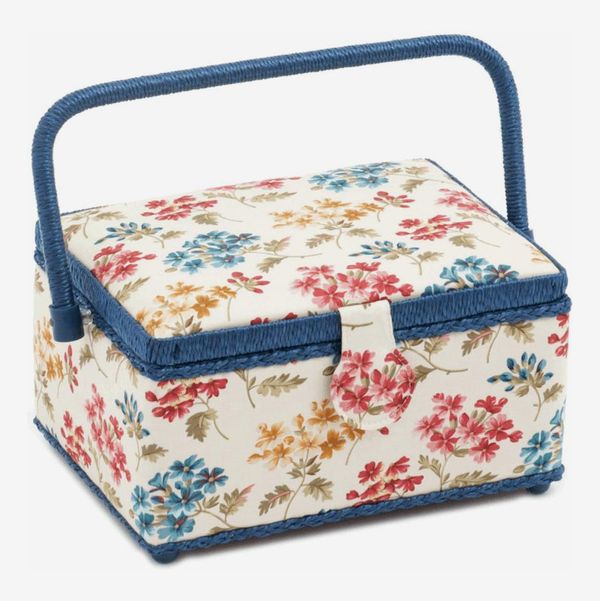
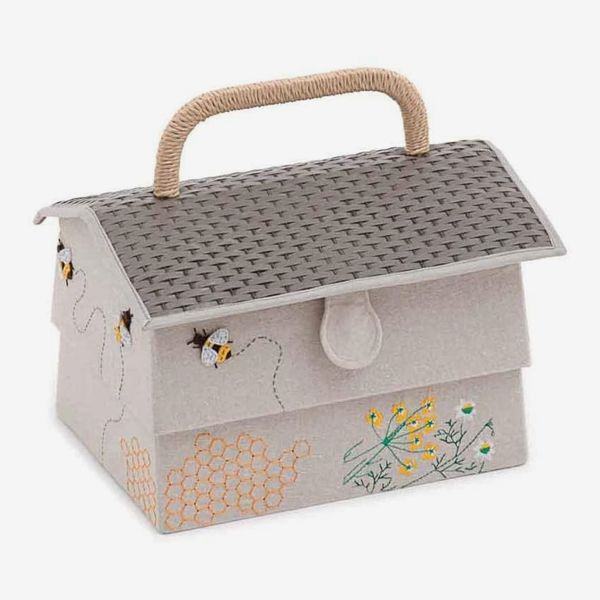
Because my mother is also precious — perhaps it’s hereditary — she gifted me a lovely one-of-a-kind vintage sewing basket last year. With a wicker handle and multi-level compartment trays, it’s convenient as well as charming. I’ve found a couple of similar options available on the web for you to store your own bits and bobs in.
If these don’t tickle your fancy, I’d suggest aiming to find one with plenty of storage compartments in various sizes (for tools, threads, and buttons), a large compartment at the bottom (for scraps and zippers), and finally a plush pincushion (for … you’ll never guess).
The Strategist UK is designed to surface the most useful, expert recommendations for things to buy across the vast e-commerce landscape. Read about who we are and what we do here. Our editors update links when possible, but note that deals can expire and all prices are subject to change.

