A version of this story originally appeared on the Strategist US.
If you’ve already figured out how to shape and groom your brows into the perfect arch, but they’re still not as full as you’d like, an at-home tint could be the solution. “The biggest downside to at-home kits is that you don’t have a professional custom matching your shade,” explains eyelash and eyebrow artist Jas Imani. However, with experts guiding you through the process, “tinting brows at home is pretty easy,” so long as you follow their advice and use the right products, she says. So we asked Imani and two other brow professionals for the tints and tools you need to prep and dye your brows, including products to help prevent and reduce skin staining, and brow gels to get your newly lush brows looking their best.
Best cleanser to prep the brow
New! You can now save this product for later.
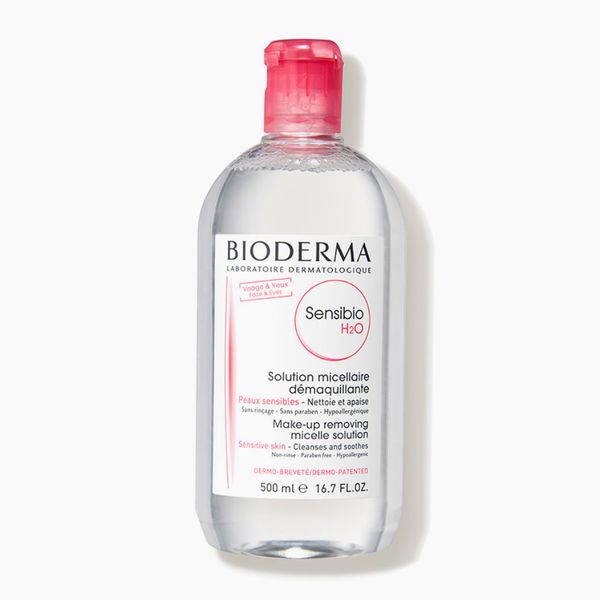
According to CHANEL Brow Artist Jimena Garcia, the very first step is to quickly cleanse your brows to remove any dirt, debris, or oil build-up that may have accumulated, so you have a clean canvas to apply your tint. While Garcia says you can use any facial cleanser you have sitting by your sink, Imani personally loves using a quick swipe of Bioderma Sensibio H2O Soothing Micellar Cleansing Water. After cleansing, “brush through the brows with a dry spoolie to remove any dead skin,” she adds.
Best ointments to prep the brow
New! You can now save this product for later.
New! You can now save this product for later.
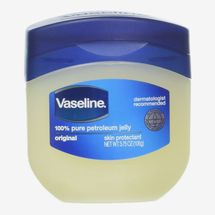
While dark brown or black tints are more likely to stain the skin, Joey Healy, founder of Joey Healy Eyebrow Studio and Joey Healy Eyebrow Collection, recommends that everyone outline the brow with some Vaseline or Aquaphor to create a barrier between your skin and the dye.
New! You can now save this product for later.
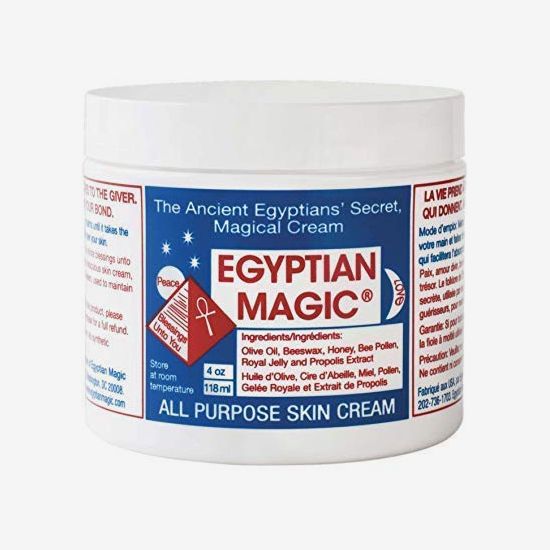
Garcia agrees that creating a barrier is a good idea, and adds that she loves using Egyptian Magic because “not only does it protect the skin from the eyebrow dye, but it’s also nourishing,” due to the olive oil, beeswax, and royal jelly.
Best eyebrow tinting products
New! You can now save this product for later.
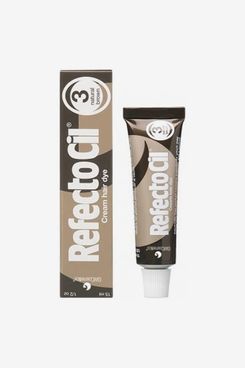
Healy uses ReflectoCil on his clients and says that you can absolutely use this product at home. It’s a “vegetable-based cream dye” that is eye-safe, he explains, adding that it’s easy to mix the colours together to find the right shade. You’ll want to buy a few colours to mix together, and Healy says the most popular combination is light and dark brown, mixed in varying amounts. Since finding the right colour is the trickiest part, both Healy and Garcia emphasised that you should aim for a slightly lighter shade than you might think. “Light brown will develop into a dark brown the longer you leave the tint on,” Healy explains. “So you’re better off mixing something a little lighter and letting it develop into a rich colour,” rather than going too dark and accidentally ending up with Groucho Marx brows.
Healy told us you’ll generally want to leave the dye on for five to 12 minutes, depending on your hair texture and skin tone. As a general rule of thumb, people with finer, lighter hairs and fairer skin tones need less time, and those with courser, darker brows, and richer skin tones need more, he says. If it’s your first time, Garcia suggests a less-is-more approach: “Start by leaving it on for five minutes so you can control the depth of tone,” she says. “Then, if you feel like you want a deeper colour, you can reapply for a more pronounced effect.” Similarly, Healy said that he often likes to go back in and paint a second round of dye on areas that may need a little more colour. Just make sure that for a second application, you “cut the processing time in half,” advises Imani.
New! You can now save this product for later.
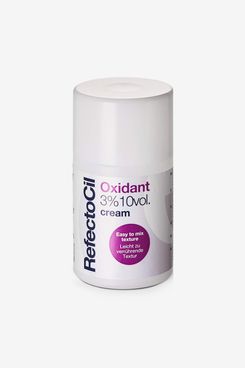
To activate the dye, you’ll need to first mix it with a cream oxidant. Garcia’s general mixing ratio is two centimetres of dye combined with ten drops of oxidant. “I tell people you’re looking for the consistency of pudding,” adds Healy.
Best eyebrow tinting kit
New! You can now save this product for later.
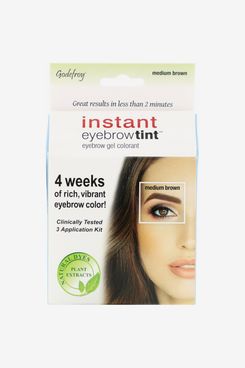
“Before I was able to buy professional products, my go-to was the Godefroy’s Instant Botanical Brow Kit,” says Imani, because it’s safe for sensitive skin and is formulated with plant extract. There are four shades available, including light brown, medium brown, dark brown, and black. The kit includes everything you need including the dye, activator, and applicator to get you results quickly. Imani notes that since it is not a professional-grade product, results will typically last about two to three weeks. And if this is your first time tinting, Imani’s advice is to tint one brow at a time. “This will allow you to focus without feeling pressured about leaving one side on longer than the other,” she adds.
Best non-traditional brow dye
New! You can now save this product for later.
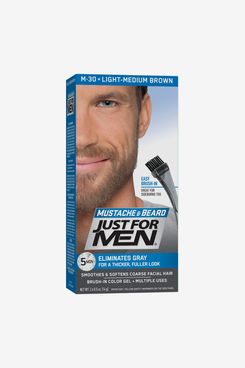
For something a little more accessible, Healy says Just For Men beard dye will work in a pinch. “The directions are really clear and I know a lot of people who have had a lot of success with it,” he says. The kit comes with the colour, developer, and a mixing tray.
Best products to apply the tint
New! You can now save this product for later.
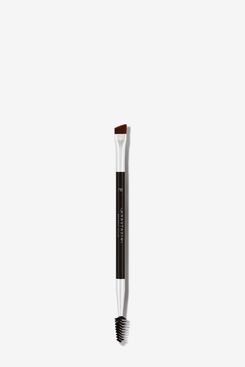
Healy likes to use a short angled makeup brush to paint the dye onto the brows, and a clean spoolie to work the product into the root of the hairs. Imani suggests buying this Anastasia Beverly Hills dual-ended brush, “which you can dedicate to tinting only.” While some kits include applicators, she says applying tint with brushes that are similar to what you already use to apply makeup will ensure you feel comfortable. Both Healy and Imani told us they like to apply the tint to the sparsest areas first, typically the tail of the brow. “Once that’s completely covered, you can then fill in the front part of your brow,” says Imani. Lastly, apply the tint to the centre where the hairs are typically the densest.
New! You can now save this product for later.
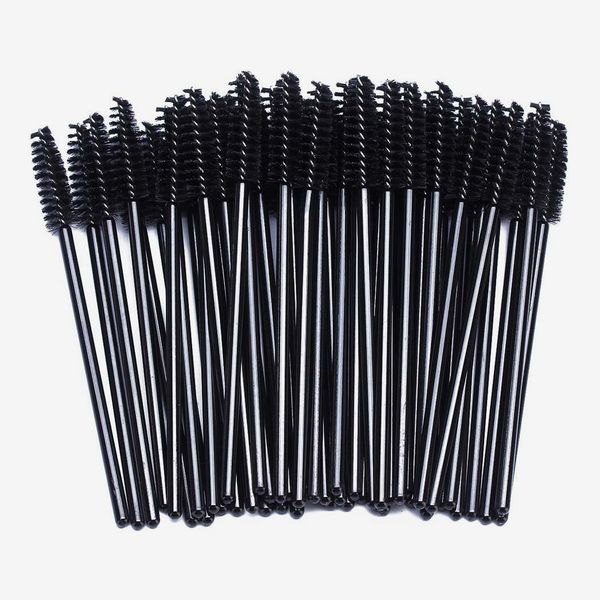
For a more affordable alternative (or if you think you may be tinting your entire family), Garcia likes these disposable spoolies — they cost just £3 for 50, which works out to sixpence a brush.
New! You can now save this product for later.
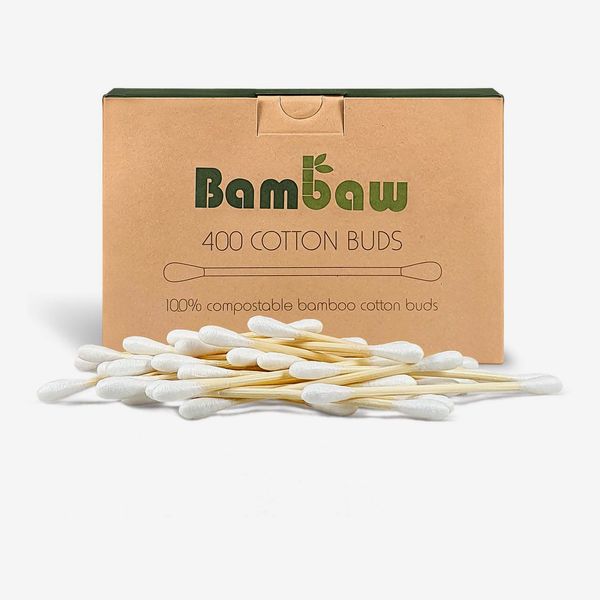
After the tint has been applied, you’ll want to clean up around the brow with a Q-tip, explains Imani. “Slightly tug your skin around the temple area with one hand, and with the other, take your Q-tip and swipe it slowly under your brow and then over the top,” to pick up any tint that has gotten outside of the brow line.
Best product to remove the tint from brows
New! You can now save this product for later.
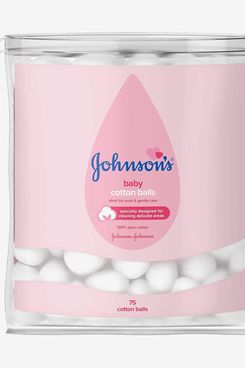
When it’s time to remove the tint, our experts all said that you could use any cotton ball or cotton round you have in your medicine cabinet. After the dye has been gently wiped off, “nothing should go on the brows for at least 24 hours so the tint can set,” warns Imani. “This includes washing your brows and getting them wet.”
Best product to style your tinted brows
New! You can now save this product for later.
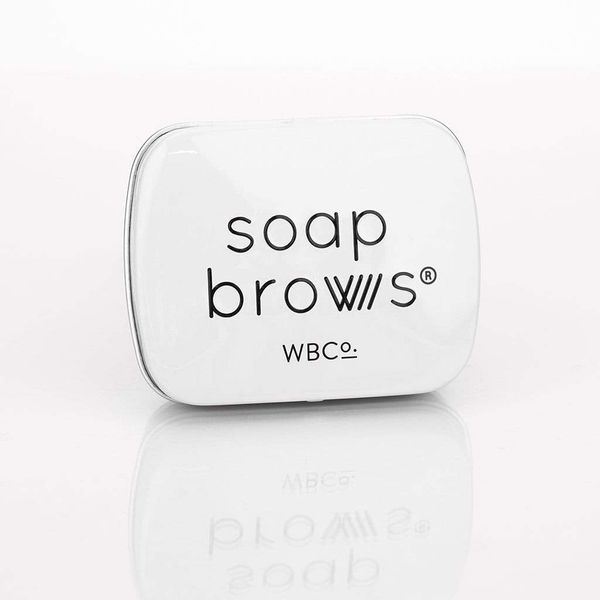
To finish the look once your brows have been tinted, Imani likes to use a clear brow product to brush them up and get them to hold their shape. “My personal favourite is Soapbrows,” she says, because it has a clear, waxy texture that holds up all day without flaking or getting crusty.
Best brow gels
New! You can now save this product for later.
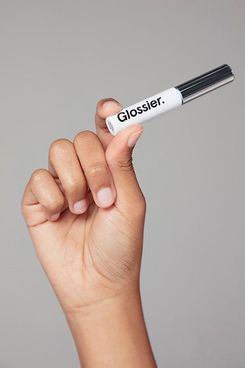
If you’re ultimately too intimidated to try out tinting on your own, Healy says a tinted brow gel, like this one from Glossier, will give you a similar effect while you wait to get back into a salon chair. And since brow gels are designed to coat the individual hairs, not to “fill in the brow and get on the skin behind,” they can also work if you only have a handful of greys you’re looking to hide.
New! You can now save this product for later.
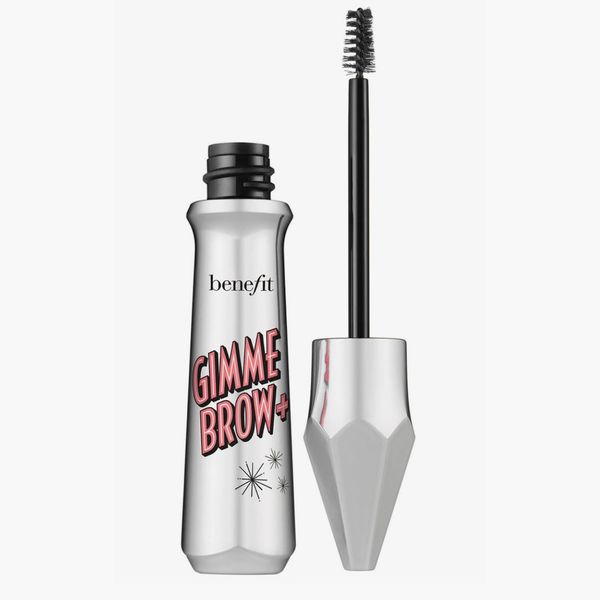
Alternatively, if you’re thinking about experimenting with a slightly different tone for your brows than your natural colour, Healy also likes using brow gels to give clients a sneak preview of what they might look like once they’re tinted. He loves Benefit brow gel, which comes in ten different shades, and is available in mini sizes, so you don’t have to invest in the full-size product.
The Strategist UK is designed to surface the most useful, expert recommendations for things to buy across the vast e-commerce landscape. Read about who we are and what we do here. Our editors update links when possible, but note that deals can expire and all prices are subject to change.

